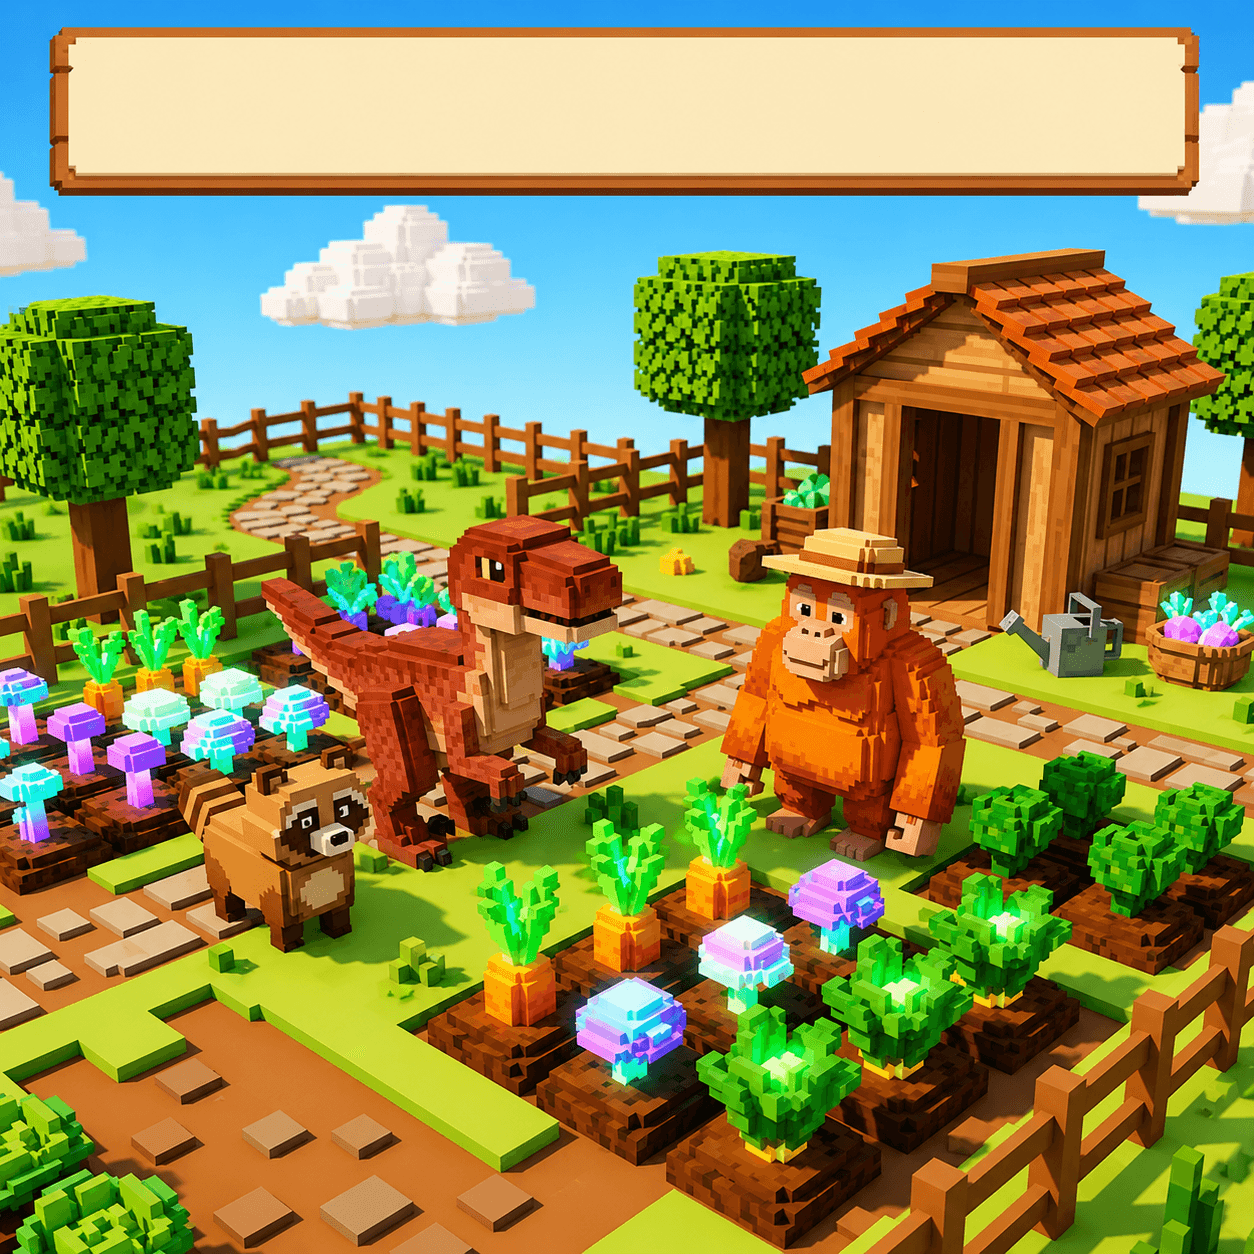
Grow a Garden Pets: Complete Guide to Every Pet, Tier List & Abilities (2026)
The definitive Grow a Garden pets guide — how the pet system works, every rarity tier explained, complete S to E tier list, pet mutations at level 50+, weight explained, lineup optimization, and common mistakes to avoid.
Grow a Garden pets are the most impactful passive income system in the game. The right pet lineup can double your Sheckle output per session without any extra effort. The wrong lineup (or no lineup at all) leaves hundreds of thousands of Sheckles on the table every time you play.
This guide covers every part of the pet system — how it works mechanically, what every rarity tier means in practice, a complete S-to-E tier list with detailed ability breakdowns, the weight and age system, pet mutations, lineup optimization, and the most common mistakes players make.
How the Pet System Works
Pets provide passive abilities called traits that trigger automatically during gameplay. You don't activate them manually — they fire on their own as you farm, harvest, craft, and move around your garden.
Each pet's trait has two key factors:
- Trigger chance (or timer): How often the ability activates. Some pets have a percentage chance per harvest. Others fire on a fixed timer (e.g., every 3 minutes 33 seconds).
- Effect magnitude: How powerful the ability is when it fires — which scales with the pet's weight.
Players start with 3 pet slots and can expand to 8. More slots = more simultaneous passive effects = higher total output per session.
Hunger System
Every pet has a hunger meter that drains continuously during gameplay. When hunger reaches zero, the pet's abilities stop triggering entirely. The pet is still there — but it's not working.
Hunger drain rate is constant per pet. Pets with higher rarity don't have faster or slower hunger drain — the drain rate is consistent across all pets.
To keep abilities active:
- Feed your pets before starting long sessions
- Equip Capybara in one slot (it prevents hunger loss in adjacent pets while boosting their XP)
- Use hunger management as part of your pre-session checklist
Pet Roaming
Pets roam your garden area during gameplay. They move independently and don't need to be near your crops to trigger most abilities. Some movement-related abilities have range considerations, but the majority of pet abilities are garden-wide.
Egg Progression
Pets are obtained by hatching eggs. Different egg types contain different pet pools:
| Egg Type | Pet Pool | Cost Range | Notes |
|---|---|---|---|
| Common Egg | Basic pets (Dog, Cat, Bunny) | Low Sheckles | Limited utility |
| Rare Egg | Uncommon + some Legendary | Medium | Good early game |
| Advanced Egg | Legendary + Mythical | High | Worth investing in |
| Prehistoric Egg | Dinosaur pets only | Very High | Event-exclusive |
| Event Egg | Current event pets | Event-only | Temporary availability |
Hatch rates per egg type matter enormously for investment decisions. Check our Egg Probability Calculator before spending on eggs — knowing the exact odds tells you whether it's more efficient to hatch or trade.
Pet Rarity Tiers: What Each Tier Actually Means
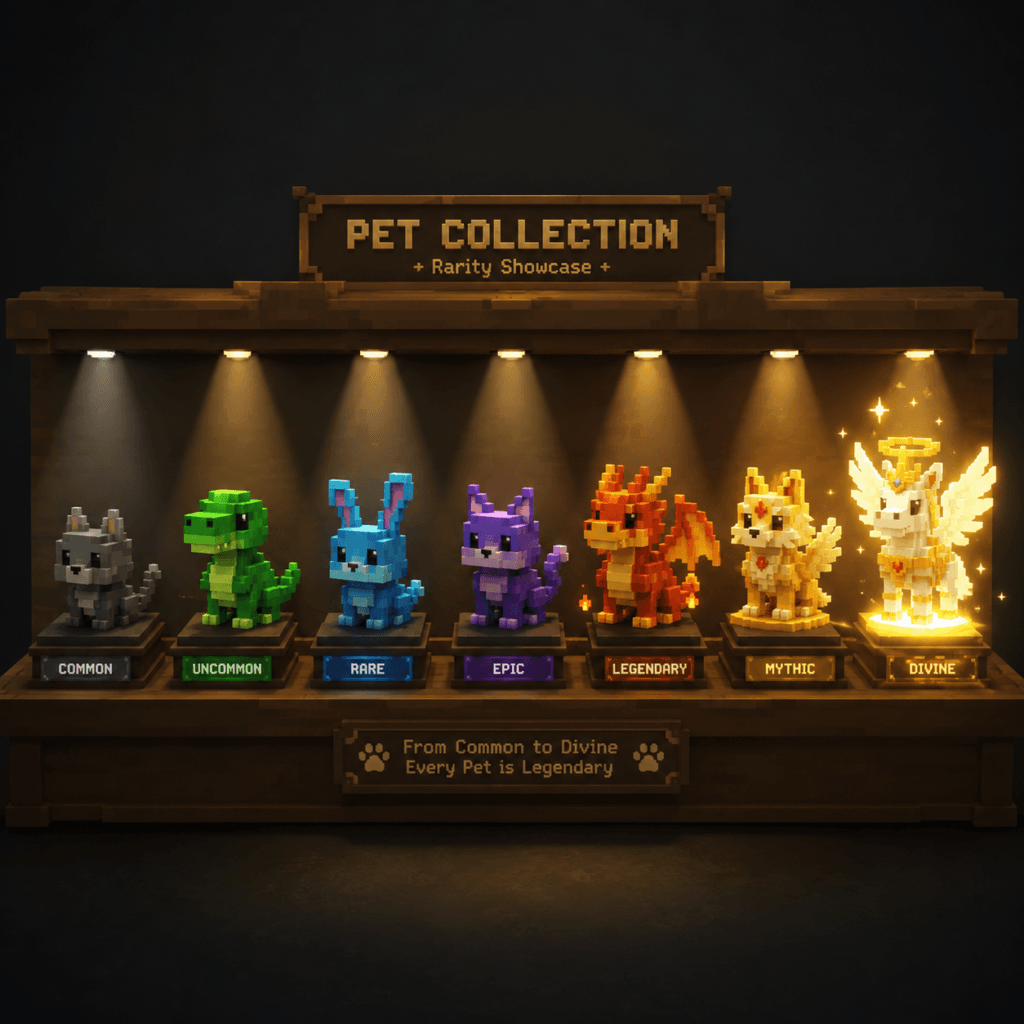
Understanding rarity tiers isn't just about color — it's about ability strength, trading value, and whether the pet fits your progression stage.
| Tier | Color | Ability Strength | Trading Value |
|---|---|---|---|
| Common | White | Minimal impact | Near-zero |
| Uncommon | Green | Noticeable in long sessions | Very Low |
| Rare | Blue | Meaningful impact | Low–Mid |
| Legendary | Gold | Strong, reliable | Mid–High |
| Mythical | Purple | Very strong | High |
| Divine | Red | Exceptional | Very High |
| Prismatic | Rainbow | Extreme | Top-tier |
The most important rule: Higher rarity doesn't always mean better for your playstyle. A Rare pet with an ability perfectly matched to your farming style often outperforms a Mythical pet with mismatched utility. Always evaluate pets based on what you're actually doing, not just tier color.
Complete Pet Tier List: S to E Tier
S-Tier — Meta-Defining Pets
These pets are so strong that building around them is worth the investment at any stage of the game. If you don't have these yet, they should be your top acquisition targets.
Kitsune
- Rarity: Mythical+
- Ability: Multi-effect kit — mutation rate boost, XP acceleration, growth speed increase
- Why S-Tier: Kitsune does multiple valuable things simultaneously with no dead weight in its ability kit. There is no playstyle where Kitsune is a bad choice. Its mutation rate boost compounds with Raptor's Amber proc chance, and its XP boost helps level other pets faster.
- Acquisition: Rare drop from Advanced Eggs. High-value trading target.
- Tip: Kitsune's utility scales with weight. A heavier Kitsune triggers its effects more frequently. Always check weight before trading for one.
Golden Goose
- Rarity: Mythical
- Ability: Lays golden eggs on a timer, generating Sheckles passively without you doing anything
- Why S-Tier: Pure passive income. Every session you play, Golden Goose is adding Sheckles to your total while you focus on farming. This is the definition of no-maintenance value generation.
- Acquisition: Advanced Egg drops + trading. Demand is consistently high because everyone wants passive income.
- Tip: Equip Golden Goose before long offline sessions. It continues generating even when you're not actively farming.
Dragonfly
- Rarity: Legendary–Mythical
- Ability: Accelerates growth for specific crop categories, reducing effective harvest time
- Why S-Tier: Time is the main resource in Grow a Garden. Dragonfly trades time for more harvests per session. More harvests = more mutation attempts = more Sheckles. The compounding value over a long session is enormous.
- Acquisition: Advanced Egg + events + trading.
Raccoon
- Rarity: Rare–Legendary
- Ability: Scavenges bonus materials from harvests — extra crops, seeds, or crafting materials
- Why S-Tier: Every harvest becomes slightly better than face value. With enough Raccoon triggers per session, you're getting a consistent bonus that compounds over time. Unlike mutation-based income, Raccoon's bonus is reliable rather than RNG-dependent.
A-Tier — Strong Specialized Roles
A-tier pets excel in specific contexts. If your playstyle matches their specialty, they perform at or near S-tier levels. Outside their specialty, they're still solid.
Raptor (Legendary)
- Ability: ~2.5–2.8% chance per harvest to apply the Amber mutation (30×) to the harvested crop, plus a movement speed boost
- Why A-Tier: Raptor is the best pure mutation pet in the game. If you're farming for mutated crops (which you should be), Raptor belongs in your lineup permanently. Amber (30×) compounding with any natural mutation creates enormous values.
- Unique status: One of only two pets in the game that can apply the Amber mutation. The other source is far rarer to acquire.
- Best for: Mutation hunters, high-value crop farmers, anyone selling or trading mutated crops
- Tip: Use Mutation Stacking Calculator to see what Amber adds to your current crop values. The result will convince you to get Raptor immediately if you haven't already.
Stegosaurus (Legendary — Prehistoric Event)
- Ability: Duplicates harvested fruit with increased odds for Prehistoric-type crops
- Why A-Tier: Duplication is one of the most powerful value mechanics in the game. Getting 2× or 3× the harvested amount is equivalent to increasing your plot size. On high-value crops during events, Stegosaurus can single-handedly double session earnings.
- Event status: Stegosaurus is only available from Prehistoric Events. This makes it a sought-after pet outside event windows.
- See also: Full Stegosaurus Guide for complete ability breakdown and farming strategy.
Tanuki (Legendary)
- Ability: Fires every ~10 minutes with a random high-value effect — Gold+ mutation application, XP burst, cooldown advancement, or Sheckle payout
- Why A-Tier: Tanuki's random effects have high average value even accounting for variance. Any of its possible outcomes (except the weakest variant) is worth more than most B-tier pets' consistent effects. The unpredictability is the tradeoff — some sessions Tanuki is incredible, others are mediocre.
- Best for: Players who can tolerate variance and play long sessions (more triggers = the RNG averages out)
Triceratops (Legendary — Prehistoric Event)
- Ability: Every 3:33, advances 3 plants by exactly 33:33 minutes each
- Why A-Tier: Unlike most pets, Triceratops's stats are consistent — the timer and growth boost don't vary by weight. This makes it uniquely predictable: you always know exactly how many growth advances you're getting per session.
- Best for: Players who harvest frequently and have multiple plots running simultaneously. The growth advance multiplies across all active plots.
- Math: A 2-hour session = ~34 Triceratops triggers × 3 plants × 33 minutes of growth advancement each = 34 × 3 × 33 = 3,366 minutes of total growth time saved per session.
Orangutan (Rare)
- Ability: ~3.49% chance per craft to not consume the crafting materials
- Stack potential: With 8 Orangutan copies equipped: approximately 56% material saving rate
- Why A-Tier: Orangutan is one of the few pets where having duplicates dramatically increases effectiveness. 8 Orangutans in all pet slots creates ~56% free crafting, which effectively halves your crafting material costs over any reasonable sample size.
- Best for: Players who craft heavily. If crafting isn't part of your playstyle, Orangutan drops to B-tier.
- Trade note: Individual Orangutans trade cheap because they're Rare. But in bulk, they enable one of the most powerful resource-saving setups in the game.
Capybara (A-Tier Support)
- Ability: Prevents hunger loss in adjacent equipped pets AND boosts their XP gain
- Why A-Tier: Capybara doesn't generate Sheckles directly. What it does is enable your other pets to work longer without hunger management, while leveling them faster. In long sessions without Capybara, your S-tier pets go offline partway through. With Capybara, they stay active the entire session.
- Best for: Players with 5+ pet slots running a dedicated lineup. The value scales with the quality of your other pets.
B-Tier — Solid Utility
B-tier pets provide consistent value that adds up over long sessions. They're good investments early-to-mid game and remain useful as slot fillers if you don't have A+ tier options.
Cat
- Ability: Lucky finds — occasionally brings free seeds or rare items
- Notes: Reliable low-maintenance value. Doesn't shine in any one moment but provides steady free resources over time.
Bunny
- Ability: 10% faster crop growth across all crops
- Notes: Simple, consistent, universally applicable. Better than most people give it credit for at early stages. Scales with the number of plots you're running.
Kodama (Legendary)
- Ability: ~5% chance that zen-type fruit receives the Tranquil mutation (25×) at harvest
- Notes: This is actually a strong mutation-application rate (higher per-harvest than Raptor) but limited to zen-type crops. If your farming focuses on zen crop types, Kodama competes with Raptor for mutation farming priority.
Panda
- Ability: Occasional bonus bamboo crop on large plots
- Notes: Niche but consistent extra income for large-plot farmers.
C-Tier — Situational
These pets have narrow use cases. They're not bad, but they only provide meaningful value in specific setups.
Dog — Prevents crop spoiling. More relevant for crops with long growth cycles that might expire before you return.
Frog — Faster watering. Only valuable if manual watering is an active bottleneck in your session.
Turtle — Slow, steady weight gain for itself. Niche relevance for weight-building strategies.
E-Tier — Minimal Impact
These pets provide value so small that a slot is better used by almost anything else in the list above.
Bear — Honey bonus is negligible at any stage of the game.
Unicorn — Primarily cosmetic. The passive effect is too rare and too small to be meaningful.
Turkey — Seasonal Thanksgiving event pet. No ongoing utility outside that event.
Pet Weight and Age: The Hidden Value System

Weight is the most underestimated mechanic in the entire pet system. Players often trade pets at face value (tier × name) when the actual value can vary by 2–3× based on weight alone.
How Weight Works
Every pet has a base weight that is randomized when it hatches from an egg. Heavier pets:
- Trigger abilities more frequently (for timer-based pets)
- Apply abilities with stronger effect (for percentage-based pets)
- Are worth significantly more in trading
As a pet ages, it gains approximately 1/11 of its starting weight per age increase. A pet that starts at 100 weight and gains 3 ages gains approximately 100 / 11 × 3 = ~27 additional weight.
Example: Two Raptors
- Raptor A: Starting weight 80 → Amber proc chance ~2.0%
- Raptor B: Starting weight 150 → Amber proc chance ~3.5%
Same pet name. Same rarity. But Raptor B generates nearly twice as many Amber mutations per session. In trading, Raptor B is worth approximately 1.5–2× Raptor A's value.
Use our Pet Weight Calculator to track your pets' weights and predict future values as they age.
Weight and Trading Value
Before trading any pet, check its weight. This matters more than almost any other factor for trading value assessment.
| Same Pet, Weight Difference | Trading Value Difference |
|---|---|
| 20% heavier than average | ~1.2–1.3× value |
| 50% heavier than average | ~1.5× value |
| 100% heavier than average (2× base) | ~1.8–2× value |
| 150%+ heavier than average | 2–2.5× value |
These are approximate community-consensus values. Always verify with Trade Checker.
Pet Mutations (Level 50+): Long-Term Investment
At level 50, pets unlock their pet mutation — a permanent ability enhancement that stays with that pet forever. Pet mutations are distinct from crop mutations (which affect crops at harvest). Pet mutations are improvements to the pet's own ability.
Why this matters for lineup strategy:
If you're constantly switching pets based on current meta trends, you're always starting at level 0 with the new pet. The level 50 mutation bonus is significant enough that a well-invested pet at level 50 often beats a higher-tier pet that's still at level 1–10.
The stability case: If you have Raptor and you're mutation farming consistently, keeping that specific Raptor and leveling it to 50 gives you a permanently enhanced Raptor for the rest of your game. Trading it for a slightly "better" trending pet resets to zero.
When to break the rule: If the new pet is more than one tier above your current pet AND the meta shift is confirmed to be durable (not just hype), upgrading may be worth resetting. But the bar is high — level 50 pet mutations represent real investment.
Optimal Pet Lineups by Stage
3-Slot Lineup (Early Game)
| Slot | Recommended Pet | Role |
|---|---|---|
| 1 | Raptor (or Bunny if no Raptor) | Mutation hunting / growth |
| 2 | Stegosaurus (or Cat) | Duplication / supplemental income |
| 3 | Capybara (or Dog) | Hunger management / spoiling prevention |
If you don't have Raptor yet: Cat + Bunny + any Legendary you can get. Start Raptor acquisition immediately via trading or egg hatching.
5-Slot Lineup (Mid Game)
| Slot | Recommended Pet | Role |
|---|---|---|
| 1 | Raptor | Amber mutation application |
| 2 | Kitsune | Mutation rate boost + multi-effect |
| 3 | Stegosaurus | Harvest duplication |
| 4 | Triceratops | Growth time advancement |
| 5 | Capybara | Hunger management for slots 1–4 |
8-Slot Lineup (Late Game — Mutation Farming Focus)
| Slot | Recommended Pet | Role |
|---|---|---|
| 1 | Raptor | Primary Amber source |
| 2 | Kitsune | Mutation rate + XP |
| 3 | Golden Goose | Passive Sheckle generation |
| 4 | Stegosaurus | Duplication |
| 5 | Dragonfly | Growth acceleration |
| 6 | Triceratops | Growth time advancement |
| 7 | Tanuki | Random high-value procs |
| 8 | Capybara | Hunger management |
8-Slot Lineup (Late Game — Crafting Focus)
| Slot | Recommended Pet | Role |
|---|---|---|
| 1–7 | Orangutan × 7 | ~65% crafting material saving |
| 8 | Capybara | Hunger management |
This is the specialized Orangutan lineup for heavy crafters. It sacrifices everything else for near-half-price crafting.
Egg Hatching vs. Trading: When to Do Each

This is one of the most common questions from mid-game players. Should you spend Sheckles on eggs for a chance at a specific pet, or trade directly for the pet you want?
The rule: compare expected value.
- Open our Egg Probability Calculator
- Input the egg type and the target pet
- The calculator shows your expected cost to hatch that pet (number of eggs × egg cost ÷ hatch rate)
- Compare to the current trade value of that pet
Example:
- You want Raptor
- Raptor hatch rate from Advanced Egg: ~2%
- Advanced Egg cost: 10,000 Sheckles each
- Expected cost to hatch: 10,000 ÷ 0.02 = 500,000 Sheckles in eggs on average
- Current Raptor trade value: 80,000 Sheckles
In this example, trading is massively better than hatching. You'd spend 500,000 Sheckles in eggs for the same pet you can buy for 80,000.
The math flips when: the hatch rate is high relative to cost, or when the trade price is inflated by hype.
Pet Trading Value Guide

Pet trade values are determined by five factors:
- Rarity — establishes the base value floor
- Weight — heavier pets trade at significant premiums (see weight section above)
- Pet mutations (level 50+) — permanently enhanced pets command higher prices
- Demand — meta-driven, changes with game updates
- Event availability — retired event pets trade at premiums once the event ends
Highest-Value Pet Trades (July 2026)
| Pet | Value Tier | Key Driver |
|---|---|---|
| Kitsune | Ultra High | S-Tier utility, always demanded |
| Prismatic/Divine pets | Ultra High | Top rarity |
| Golden Goose | Very High | Passive income, universal appeal |
| Raptor (high weight) | High | Amber source, mutation farmer essential |
| Stegosaurus | High | Duplication, retired event pet supply |
| Triceratops | High | Consistent growth advancement |
| Tanuki | Mid–High | High variance but strong average |
How to Not Get Scammed in Pet Trades
"Limited time" pressure — Legitimate traders don't rush you. "This expires in 30 seconds" is manipulation. Take your time.
Rarity inflation — "This is an ultra-rare variant." Check the actual pet stats (weight, mutations) rather than trusting claims.
Duplicate swap — Trader agrees, then swaps one item at the last second. Re-read the full trade panel before confirming.
Weight misrepresentation — "This is a heavy Raptor." Ask for exact weight, then verify with Pet Weight Calculator.
Always use Trade Checker — it calculates WFL (Win, Fair, Loss) automatically and removes guesswork.
Common Pet Mistakes
Letting Hunger Meters Empty
This is the most common and most expensive mistake. Your A-tier pets go offline halfway through your session and you don't notice. All that time with inactive pets is lost opportunity.
Fix: Feed all pets at the start of every session. Equip Capybara to extend session length.
Trading Without Checking Weight
Two players say "Raptor for Raptor." Player A has a 150-weight Raptor. Player B has a 65-weight Raptor. Player A gave away a pet worth 2× Player B's pet, and neither of them checked the weight.
Fix: Always check weight before any same-name pet trade. Use Pet Weight Calculator.
Chasing Rarity Instead of Utility
Mythical pet with a useless ability vs. Rare pet with exactly the ability you need. Players consistently overpay for rarity and end up with a pretty-colored pet that doesn't improve their session.
Fix: Evaluate pets by their specific ability and how it fits your farming style. Tier list is a guideline, not a rule.
Ignoring Pet Mutations (Level 50)
Players who swap pets every time a new "meta" pet appears never reach level 50 on anything. They permanently miss the mutation bonus that makes committed pets significantly more powerful.
Fix: Pick your core lineup (Raptor, Kitsune, Capybara at minimum) and commit. Let them level. The mutation bonus at 50 compounds with their base abilities.
Not Using Capybara in Long Sessions
Running a 4+ hour session without Capybara means your pets are degrading over time. By hour 3, several of your active pets may be offline from hunger. Capybara in one slot effectively extends the active time of all other pets.
Fix: Include Capybara in any lineup used for sessions over 2 hours.
FAQ: Grow a Garden Pets
Q: Do all pets work even when I'm not actively playing?
A: Pets are active when your game session is running. If you close the game, pets aren't generating anything. Golden Goose is the exception for some passive mechanics that persist briefly, but generally pets require an active session.
Q: Can I have the same pet in multiple slots?
A: Yes. Multiple copies of the same pet each have independent trigger chances. This is specifically used for Orangutan stacking (crafting builds) and can be done with other pets.
Q: What happens to a pet's weight when I trade it?
A: Weight stays with the pet permanently. When you trade a high-weight pet, the new owner gets that exact weight. Weight is not randomized on trade.
Q: When exactly does the pet mutation unlock at level 50?
A: At the moment of reaching level 50, the pet mutation is permanently applied to that pet. It doesn't require any additional action.
Q: Does the pet's ability range matter? Do I need to place plots close to my pet?
A: Most pet abilities are garden-wide and don't require proximity. A few movement-related abilities have range components, but the majority of crop-affecting abilities work regardless of where your pet is standing.
Q: If I have Kitsune and Raptor, do their mutation effects stack?
A: Yes. Kitsune's general mutation rate boost and Raptor's specific Amber proc are independent systems that both apply. A crop can receive Kitsune's rate boost (increasing baseline mutation chance) AND Raptor's Amber proc simultaneously.
Q: Which egg type should I buy to try to get Kitsune?
A: Advanced Egg is the correct pool. Check Egg Probability Calculator for current hatch rates before spending.
Tools for Pet Management
| Calculator | What It Does |
|---|---|
| Pet Weight Calculator | Track pet growth, predict future weight, compare values |
| Egg Probability Calculator | Hatch rates by egg type, expected cost to get specific pets |
| Trade Checker | WFL analysis for any pet trade |
| Mutation Stacking Calculator | See what Raptor's Amber adds to your current crops |
Quick Recap
The pet system rewards preparation and commitment. Feed your pets, monitor their weight, level your best pets to 50, and build a lineup that matches your actual farming style rather than whatever's trending.
Raptor belongs in almost every serious lineup. Kitsune + Raptor is the endgame mutation-farming duo. Capybara is underrated as a lineup enabler for long sessions. Weight matters more than most players realize.
→ Pet Weight Calculator — check your pet's current and projected weight
→ Egg Probability Calculator — hatch rates and expected cost
→ Trade Checker — verify trade value before accepting
Abdullah
Grow a Garden player & calculator builder · Updated Jul 30, 2026