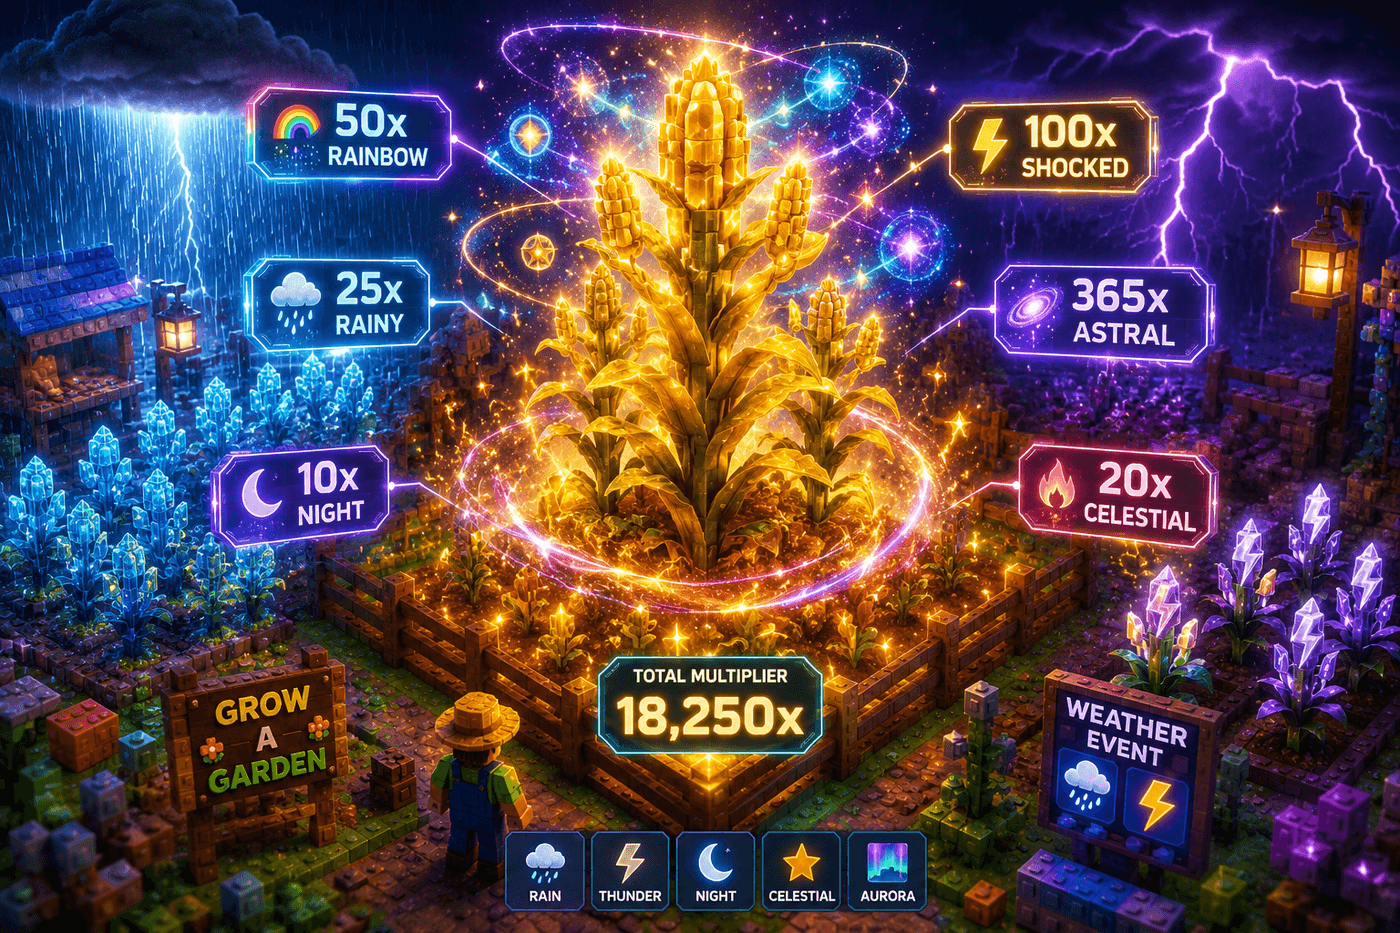
Grow a Garden Mutations Guide: Every Mutation, Stacking Math & Farming Strategy (2026)
The definitive Grow a Garden mutations guide — every mutation with exact multipliers, how stacking math works, fused mutations, Blood Moon strategy, and pet synergies for farming maximum value crops.
Mutations are the single biggest value multiplier in Grow a Garden. A plain Strawberry worth 50 Sheckles can become worth 150,000+ Sheckles with the right mutation stack. Understanding mutations isn't optional for serious players — it's the difference between casual farming and running one of the most profitable plots in the server.
This guide covers every mutation in the game, how the stacking math actually works, every fused mutation combination, Blood Moon farming strategy, and how to use our calculators to maximize every harvest. For a pure calculation walkthrough with worked crop-value examples, see our Mutations Calculator.
What Are Mutations in Grow a Garden?
Mutations are value modifiers that apply to crops at harvest time. Each mutation multiplies the base value of a crop by a set factor. Stack multiple mutations on the same crop and each one multiplies the already-multiplied result — not the original base value.
This compounding is what makes mutations so powerful. A crop with two 10× mutations isn't worth 20× base value. It's worth 100× base value (10 × 10 = 100).
Every mutation has three key properties:
- Multiplier — the exact value increase it applies (e.g., 5×, 20×, 500×)
- Category — determines how and when it can appear, and which other mutations it can combine with
- Rarity tier — how frequently it naturally appears on your crops
The rarity of a mutation is independent of the rarity of the crop. A Common carrot can get a Prismatic mutation just as easily as a Legendary crop can.
Complete Grow a Garden Mutation List (All Multipliers)
This is the full list of every known mutation as of July 2026. Use the Mutation Stacking Calculator to calculate exact combined values.
| Mutation Name | Multiplier | Rarity | Category | How to Get |
|---|---|---|---|---|
| Transcendent | 1000× | Ultra Rare | Special | Fused mutations + events |
| Prismatic | 500× | Extremely Rare | Special | Fused + Blood Moon |
| Disco | 125× | Very Rare | Pet / Event | Specific pets + events |
| Foxfire Chakra | 90× | Rare | Pet | Fox-type pets |
| Rainbow | 50× | Rare | Standard | Random harvest |
| Divine | 40× | Rare | Special | Blood Moon + events |
| Amber | 30× | Uncommon | Pet | Raptor, specific pets |
| Gold | 20× | Uncommon | Standard | Random harvest |
| Mythical | 15× | Uncommon | Special | Events + Blood Moon |
| Silver | 5× | Common | Standard | Random harvest |
| Giant | 3× | Common | Growth | Growth phase |
| Wet | 2× | Common | Growth | Rain / watering |
| Tall | 1.5× | Very Common | Growth | Growth phase |
| Burnt | 1.2× | Common | Weather | Heatwave |
| Chilled | 1.2× | Common | Weather | Frost |
| Stormy | 2.5× | Uncommon | Weather | Thunderstorm |
| Bloodsoaked | 35× | Rare | Event | Blood Moon only |
| Prehistoric | 45× | Rare | Event | Prehistoric Event |
| Tranquil | 25× | Uncommon | Pet | Kodama + zen crops |
Note: Multipliers may shift slightly with game updates. Always verify with our calculator for current values.
The Five Mutation Categories — Why They Matter
Not all mutations work the same way. The category a mutation belongs to determines how it appears, whether it can coexist with other mutations, and how it interacts with fusing.
Category 1: Standard Mutations
Standard mutations are the baseline mutation type. They appear randomly on any harvest regardless of weather, pets, or other conditions. Silver, Gold, and Rainbow are the three standard mutations players are most familiar with.
Standard mutations:
- Silver (5×)
- Gold (20×)
- Rainbow (50×)
Standard mutations cannot stack with another standard mutation of the same tier. You won't get Silver + Silver on the same crop. But you can get Silver + Gold, or Silver + Rainbow.
The base chance for any standard mutation to appear is roughly 1–3% per harvest under normal conditions. Blood Moon significantly increases these base chances across the board.
Category 2: Growth Variant Mutations
Growth mutations are determined during the growing phase of the crop, not at harvest time. They reflect how the crop grew — how large it became, how wet the soil was, how tall the stalk grew.
Growth mutations:
- Giant (3×) — crop grew exceptionally large
- Wet (2×) — crop absorbed excess moisture during growth
- Tall (1.5×) — crop grew taller than normal stalk height
Because these mutations are determined during growth, you can intentionally influence some of them:
- Wet is more likely when you water frequently or during rain events
- Giant is more common on longer-growth-cycle crops
- Tall correlates with consistent watering and light exposure
Growth mutations stack with every other category except another growth mutation of the exact same type. Giant + Wet is a valid stack. Giant + Giant is not.
Category 3: Weather Mutations
Weather mutations are applied by the current in-game weather condition while your crop is growing. The crop must be actively growing (not yet harvested) during the weather event to have a chance at that weather's mutation.
Weather mutations:
- Burnt (1.2×) — from Heatwave events
- Chilled (1.2×) — from Frost events
- Stormy (2.5×) — from Thunderstorm events
Weather mutations are generally weaker multipliers on their own, but they stack freely with every other mutation category including standard and pet mutations. A crop that picked up Stormy during a Thunderstorm can still get Gold at harvest AND Amber from your Raptor.
The practical implication: weather mutations are "free" additions. If the weather is active while your crops are growing, you're getting extra multiplier for no additional effort.
Category 4: Pet-Applied Mutations
Pet mutations are applied by your equipped pets at the moment of harvest. They are completely separate from the crop's natural mutation chances and can stack with everything else.
Pet mutations:
- Amber (30×) — applied by Raptor (~2.5–2.8% per harvest)
- Tranquil (25×) — applied by Kodama to zen-type crops (~5% per harvest)
- Foxfire Chakra (90×) — applied by fox-type pets (very rare trigger)
- Disco (125×) — applied by specific event pets
Pet mutations are the most reliable way to target specific mutations, because you control which pets you equip. This is why Raptor is one of the most valuable pets in the game — it gives you an active chance at Amber (30×) on every single harvest.
If you have multiple pet slots, you can equip multiple pets with mutation abilities. Each pet's mutation chance is calculated independently, so you can potentially get Amber from Raptor + Tranquil from Kodama on the same crop.
Category 5: Limited & Event Mutations
Event mutations only appear during specific in-game events. They are typically the highest-multiplier mutations available during their event window, and they disappear when the event ends.
Known event mutations:
- Bloodsoaked (35×) — Blood Moon exclusive
- Prehistoric (45×) — Prehistoric Event exclusive
- Disco (125×) — certain event pets (also applies outside events via specific pets)
Event mutations are why experienced players rush to plant their best seeds when an event begins. The mutation opportunities are too valuable to waste.
How Mutation Stacking Works: The Math
This is the most misunderstood part of the mutation system. Players frequently calculate mutation stacks incorrectly and then wonder why their crop is worth less than expected — or more than expected.
The correct rule: mutations multiply each other.
Each mutation applies its multiplier to the current running total, not the base value.
Worked Example 1: Silver + Gold
- Crop base value: 100 Sheckles
- Silver applies: 100 × 5 = 500
- Gold applies to the result: 500 × 20 = 10,000
- Combined effective multiplier: 5 × 20 = 100×
- Final value: 10,000 Sheckles
If you calculated it wrong (500 + 2,000 = 2,500), you'd be off by 4×. That's a massive error when you're trading.
Worked Example 2: Silver + Amber (Raptor) + Stormy
- Crop base value: 500 Sheckles
- Silver applies: 500 × 5 = 2,500
- Amber applies: 2,500 × 30 = 75,000
- Stormy applies: 75,000 × 2.5 = 187,500
- Combined effective multiplier: 5 × 30 × 2.5 = 375×
- Final value: 187,500 Sheckles
That's a 500 Sheckle crop turning into 187,500 just from three stackable mutations. Now imagine that's a 5,000 Sheckle crop — you're looking at 1,875,000 Sheckles.
Worked Example 3: Gold + Amber + Giant (Triple Stack)
- Crop base value: 1,000 Sheckles
- Gold (20×): 1,000 × 20 = 20,000
- Amber (30×): 20,000 × 30 = 600,000
- Giant (3×): 600,000 × 3 = 1,800,000
- Combined effective multiplier: 20 × 30 × 3 = 1,800×
- Final value: 1,800,000 Sheckles from a 1,000 Sheckle crop
This is why players with multiple pet slots farm Raptor + another mutation pet simultaneously. The compounding creates massive values even from mid-tier crops.
Quick reference — common mutation stacks and their combined multiplier:
| Mutation Stack | Combined Multiplier |
|---|---|
| Silver | 5× |
| Gold | 20× |
| Rainbow | 50× |
| Silver + Gold | 100× |
| Gold + Amber | 600× |
| Silver + Amber + Giant | 450× |
| Gold + Amber + Giant | 1,800× |
| Rainbow + Amber | 1,500× |
| Rainbow + Amber + Giant | 4,500× |
| Disco + Amber | 3,750× |
Use the Mutation Stacking Calculator for any combination not listed here.
Fused Mutations: The Endgame System
Fused mutations are advanced mutations that replace two compatible base mutations with a single, more powerful mutation. The fused mutation's multiplier is higher than either base mutation alone — and sometimes higher than both combined.
This is the endgame for mutation farming. Players who understand fused mutations and create conditions for them to appear are generating some of the highest crop values in the game.
How Fusing Works
When two compatible mutations exist on the same crop:
- The game checks if the mutation pair has a registered fuse result
- If yes, both base mutations are replaced by the fused mutation
- The fused mutation then stacks with any other remaining mutations on the crop
Fusing is automatic — you don't activate it manually. If conditions are met, it happens.
What makes a fuse "compatible":
- The two mutations must be in compatible categories
- The game has a registered fuse result for that specific pair
- Both mutations must be active at harvest time
Known Fused Mutation Combinations
| Mutation 1 | Mutation 2 | Fused Result | Fused Multiplier |
|---|---|---|---|
| Silver | Gold | Gold+ (Gilded) | 150× |
| Gold | Rainbow | Rainbow Prime | 2,000× |
| Amber | Gold | Burnished | 800× |
| Giant | Wet | Bloated | 10× |
| Rainbow | Disco | Prismatic | 500× |
| Amber | Silver | Ember | 200× |
Fused multipliers are community-verified estimates. Exact values may shift with updates.
The key insight: fused mutations can then stack with remaining mutations. A Gold + Rainbow fuse that results in Rainbow Prime (2,000×) can then still receive Amber from your Raptor. That's 2,000 × 30 = 60,000× combined — from a single crop.
How to Farm Fused Mutations
The challenge with fused mutations is creating conditions for two specific mutations to appear simultaneously. Strategy:
- Target fuse-compatible pairs. Pick a pair you want to fuse (e.g., Gold + Rainbow) and farm toward those specifically.
- Time Blood Moon. Blood Moon dramatically increases all mutation rates, making it much easier to hit two mutations on the same crop.
- Use mutation-boosting pets. Raptor provides Amber at harvest — pair with farming conditions that favor Gold for the Burnished fuse.
- Use fast-growing high-value crops. During Blood Moon, you want to harvest as many crops as possible to maximize fusion attempts.
Blood Moon Farming Strategy
Blood Moon is the single most important event for mutation farmers. During Blood Moon:
- All mutation rates are significantly elevated (estimated 3–5× normal rates)
- Rarer mutations (Gold, Rainbow, Disco) become meaningfully achievable in a single session
- Both base mutations needed for fusing are more likely to appear simultaneously
Missing a Blood Moon window is one of the most expensive mistakes a player can make. Here's the optimal response when Blood Moon begins:
Immediate Response Checklist
Before Blood Moon:
- Keep plots fully planted with high-value crops at all times
- Equip Raptor (and any other mutation pets)
- Know your current crop growth timers
When Blood Moon starts:
- Immediately harvest any crops that are 70%+ complete — don't wait for perfect completion
- Re-plant with your fastest fast-growing high-value seeds
- Keep watering can ready for crops that need water
During Blood Moon:
- Harvest every completed crop immediately — don't let them sit
- Keep replanting throughout the event
- Monitor for mutation opportunities
After Blood Moon:
- Calculate the value of any mutated crops using Crop Value Calculator
- Decide whether to sell or trade based on current market
The goal during Blood Moon is to maximize the number of harvest events that occur during the elevated mutation window. More harvests = more rolls = better odds at rare mutations and fuses.
Pet Synergies for Mutation Farming
Choosing the right pet lineup is as important as understanding mutation mechanics. The right pets effectively multiply your mutation rate every session.
Tier 1: Raptor — The Mutation King
Raptor is the gold standard for mutation farming. Every harvest, Raptor rolls approximately a 2.5–2.8% chance to apply the Amber mutation (30×) to the harvested crop. This is in addition to any natural mutation that crop receives.
At 2.5–2.8% per harvest, if you harvest 50 crops in a session, you're getting ~1–2 Amber mutations per session on average. Each Amber mutation on a mid-value crop is worth thousands of Sheckles. Over a week, Raptor pays for itself many times over.
Raptor's unique status: Raptor is one of only two sources of the Amber mutation in the game. If you want Amber consistently, Raptor is nearly essential.
Tier 2: Kitsune — Multi-Effect Mutation Support
Kitsune applies several mutation-adjacent effects simultaneously, including a general mutation rate boost and XP bonuses. While it doesn't apply a specific named mutation, the general rate increase compounds with Raptor's Amber application.
Kitsune + Raptor is the standard endgame mutation-farming duo. If you have the pet slots, use both.
Tier 3: Kodama — Tranquil on Zen Crops
If your farming setup focuses on zen-type crops, Kodama applies the Tranquil mutation (25×) at approximately 5% per harvest. This is higher per-harvest than Raptor's Amber rate, but only works on the Tranquil-compatible crop types.
For zen crop specialists, Kodama + Raptor is the optimal pairing. For generalist farmers, Raptor + Kitsune is stronger.
Mutation Rate Optimization: Full Strategy Guide
Beginner: Getting Your First Silver
When starting out, focus on:
- Farm consistently — more harvests = more mutation attempts
- Equip any pet you have that mentions mutation or luck in its description
- Play during rain events (Stormy weather mutation is free stacking value)
- Don't miss Blood Moon events even if your crops are basic
Target: Get one Silver mutation, understand what it is, trade or sell it to see the premium vs. unmutated.
Intermediate: Targeting Gold+
At this stage you understand mutations and want to farm them consistently:
-
Get Raptor. This is the single most impactful mutation-farming upgrade at this stage. The Amber mutation (30×) is worth far more than the difference in crop value between any two crop types.
-
Blood Moon preparation. Plant fast-growing crops when you know Blood Moon is approaching. Have plots full when it starts.
-
Use our calculator before trades. At this stage, you might be tempted to trade a Gold mutated crop. Always calculate exact value first — Crop Value Calculator. Know what you have before you give it away.
-
Farm Silver + Amber stacks. Silver (5×) + Amber (30×) = 150× combined multiplier. This is easily achievable for any player with Raptor. A 1,000-Sheckle crop becomes 150,000 Sheckles.
Advanced: Fused Mutation Farming
At the advanced stage, you're engineering conditions for fused mutations:
-
Identify your target fuse. Which fused mutation are you going for? Gold + Rainbow (Rainbow Prime) or Amber + Gold (Burnished) are the most practical targets.
-
Build the right pet lineup. For Burnished (Amber + Gold fuse): Raptor provides Amber consistently. Now you need favorable conditions for Gold to appear naturally on the same harvest. Blood Moon is your ally.
-
Calculate fuse timings. Fast-growing crops during Blood Moon give you more harvest windows. Each window is a chance for the fuse condition to be met.
-
Stack fused + remaining mutations. Remember: after a fuse, remaining mutations still apply. A Burnished (800×) crop that also gets Giant (3×) from its growth phase is worth 2,400×. This is where the truly large values come from.
Mutations and Crop Weight: The Hidden Multiplier
Many players know about mutations but overlook weight. Weight is applied before mutations, so mutation multipliers compound on top of a weight-adjusted base.
Formula:
Final Value = Base Crop Value × Weight Factor × All Mutation Multipliers (compounded)
Example:
- Crop base value: 1,000 Sheckles
- Weight factor: 2.5× (crop weighed 150% of average)
- Gold mutation: 20×
- Amber mutation: 30×
- Final value: 1,000 × 2.5 × 20 × 30 = 1,500,000 Sheckles
Same crop at average weight with same mutations: 1,000 × 1.0 × 20 × 30 = 600,000 Sheckles
The 2.5× weight factor alone made this crop worth 2.5× more after the same mutations applied. Weight matters enormously at high mutation stacks.
This is why players who understand the system seek high-weight crops for mutation farming, not just high-rarity crops. A heavy Carrot with Rainbow + Amber can be worth more than a lightweight Legendary crop with the same mutations.
Track your pet weights with the Pet Weight Calculator and apply the same weight awareness to your crop farming.
Mutation Trading Values
Understanding what mutated crops are worth in the trading market is essential to not getting lowballed. Community trade premiums as of July 2026:
| Mutation | Typical Trade Premium vs. Unmutated |
|---|---|
| Silver (5×) | 4–5× unmutated value |
| Gold (20×) | 15–20× unmutated value |
| Rainbow (50×) | 40–55× unmutated value |
| Disco (125×) | 100–130× unmutated value |
| Amber (30×) | 25–32× unmutated value |
| Silver + Gold (100×) | 85–105× unmutated value |
| Gold + Amber (600×) | 500–650× unmutated value |
| Fused mutations | Varies significantly by type |
These premiums are approximate and shift with game updates and community demand. Always calculate exact value before trading — don't rely on premiums alone.
Rule: If someone is making you an offer on a mutated crop and you haven't calculated its exact value using Crop Value Calculator, don't accept it. The difference between a correct calculation and a guess can be 10× or more.
Common Mutation Mistakes (And How to Fix Them)
Mistake 1: Selling Silver Immediately
Many beginners see Silver on their first harvest and immediately sell it for the small premium. The problem: Silver stacks with everything. A Silver mutation crop is much more valuable if it also picks up Amber from your Raptor on the next similar harvest.
Fix: Don't sell Silver until you've checked whether any pet-applied mutations could further multiply it.
Mistake 2: Confusing Pet Mutations with Crop Mutations
This causes serious trading errors. Pet mutations (the level 50+ bonuses pets earn) are a completely different system from crop mutations. A pet with a "Gold" pet mutation at level 50 doesn't mean the crops it touches get Gold — that's a pet stat boost, not a crop mutation.
Fix: In trades, clarify whether you're discussing crop mutations or pet mutations. They're valued completely differently.
Mistake 3: Adding Multipliers Instead of Multiplying
"Silver is 5×, Gold is 20×, so Silver + Gold = 25×." This is wrong. Silver + Gold = 100×. Adding vs. multiplying is a 4× error — you will systematically undervalue your crops.
Fix: Always use the Mutation Stacking Calculator. Never calculate mutation stacks in your head.
Mistake 4: Ignoring Weight on Mutated Crops
"My Rainbow crop is worth 50× base value." True — but 50× of what? If the crop weighs 3× the baseline, that Rainbow mutation is worth 150× the standard version. Sellers who don't know this get ripped off in trades constantly.
Fix: Calculate weight-adjusted base value first, then apply mutation multipliers. The Crop Value Calculator does this automatically.
Mistake 5: Not Farming During Blood Moon
Players who log off when Blood Moon appears (or just don't pay attention) are leaving their single best mutation opportunity every few hours completely untapped.
Fix: Set an alert. Track Blood Moon timing. Prioritize harvesting during the event window.
Mistake 6: Trading Fused Mutations for Base Mutation Prices
This is the costliest mistake. A player with a Burnished (800×) crop being offered Gold + Rainbow value (which would be 100× + 50× combined if interpreted separately) is being cheated by 8×.
Fix: Know what you have. Know what the fused mutation name is. Calculate using the fused multiplier, not the sum of the base multipliers.
FAQ: Grow a Garden Mutations
Q: Can I get two standard mutations on the same crop? A: Yes, but not the same tier — you can get Silver + Gold but not Silver + Silver. Different standard tiers stack freely.
Q: Does Blood Moon increase the chance of ALL mutations or just some? A: All mutation types see elevated rates during Blood Moon, including standard, pet-applied, and weather mutations.
Q: If my Raptor applies Amber but the crop already has Gold, which applies first? A: Pet mutations apply at harvest time. Standard mutations appear at the moment of harvest as well. The order doesn't matter — all active mutations compound together regardless of which "applied first."
Q: Can I force a fused mutation to appear? A: Not directly. You can increase the odds by farming during Blood Moon with mutation-boosting pets, but fusing is ultimately RNG-based. You can only optimize conditions.
Q: Do mutations carry over if I don't harvest immediately? A: No. Mutations are determined at the moment of harvest. Leaving a crop sitting after it's ready doesn't increase mutation chances — it just delays your next harvest cycle.
Q: What's the highest possible crop value in the game? A: Theoretically, a Transcendent (1000×) fused mutation on a max-weight Legendary crop with all compatible stacks active. Exact values aren't published, but the Transcendent mutation represents the current ceiling.
Q: Can weather mutations appear without me doing anything? A: Yes. If your crops are growing during an active weather event, there's a chance they pick up that weather's mutation. You don't need to take any action.
Q: How do I know if my crop has a mutation before harvesting? A: Check the crop detail panel before harvesting. Mutations are shown in the crop's info display. This lets you calculate value before deciding whether to harvest immediately or wait.
Tools and Calculators
Managing mutations without tools is guesswork. These calculators remove the guesswork:
| Calculator | What It Does |
|---|---|
| Mutation Stacking Calculator | Input any mutation combination, get exact combined multiplier |
| Crop Value Calculator | Full crop value including weight + mutation stacking |
| Trade Checker | WFL analysis for any crop or pet trade |
| Harvest Optimizer | Best harvest timing for your crop + current weather |
Quick Recap
Mutations compound multiplicatively — never add them. Blood Moon is the most important farming event for mutation hunters. Raptor is the highest-value pet for mutation farming. Weight multiplies the base value before mutations apply. Fused mutations replace two base mutations with a single more powerful one.
The players who maximize mutation value are the ones who understand the math, farm consistently during Blood Moon, and verify every value with a calculator before trading.
→ Mutation Stacking Calculator
→ Crop Value Calculator
→ Trade Checker
Abdullah
Grow a Garden player & calculator builder · Updated Jul 30, 2026